
The Best Fluffy Pancakes recipe you will fall in love with. Full of tips and tricks to help you make the best pancakes.

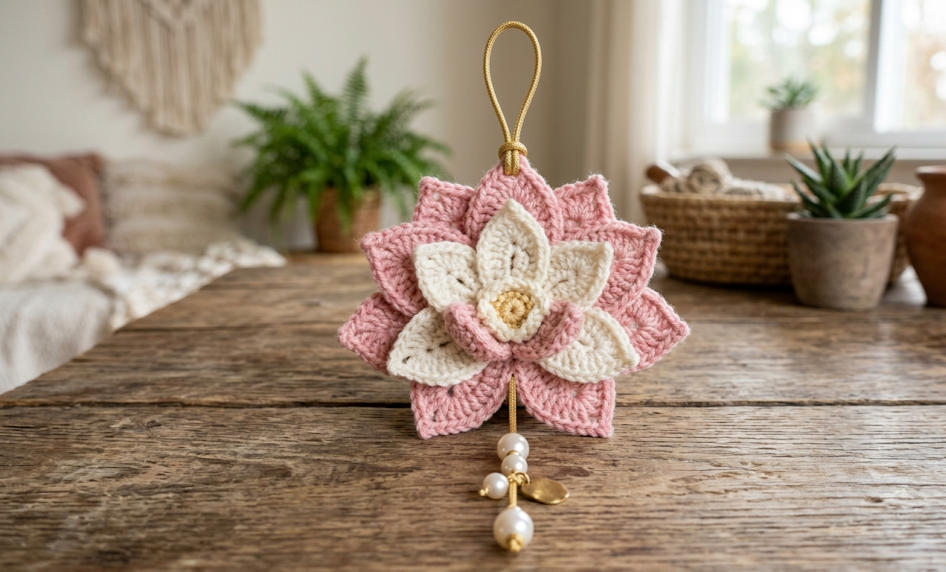
There’s something quietly magical about a lotus flower. It opens petal by petal, rising above still water with a kind of patient grace — and that same patience is exactly what goes into making this crochet lotus flower applique. With its soft blush-pink outer petals cradling a creamy white center, finished off with a delicate corded hanger and a single pearl bead, this little flower feels like a tiny piece of nature you can hold in your hand.
This pattern is perfect for anyone who loves nursery decor, boho-style hangings, or sweet handmade gifts that feel personal and a little bit precious. Hang it above a crib, clip it onto a curtain tie, loop it through a plant hanger, or gift it as a baby shower keepsake. It’s small enough to finish in an afternoon, but detailed enough that it feels like a real accomplishment once it’s done.
The construction is simple in concept but rewarding in execution: each petal is crocheted flat using a chain base, then layered and joined into a full, dimensional bloom. There’s no stuffing, no wire shaping, and no complicated assembly — just clean stitching, a bit of patience with the small hook, and a satisfying finished piece that looks far more impressive than the actual effort required to make it.
Whether you’re an intermediate crocheter looking for a quick, pretty project, or a confident beginner ready to stretch your skills with chain-based petals, this lotus applique is a lovely addition to your handmade collection.
|
Difficulty
Intermediate
|
Time
2–3 Hours
|
Hook Size
2.5mm
|
Yarn Weight
Lace Weight
|
Finished Size
11cm x 9cm
|
Gauge
Gauge is approximate, since this is a shaped applique rather than a flat swatch project — but matching gauge will keep your petals proportional and your flower symmetrical.
- 18 stitches x 20 rows = 10cm x 10cm, worked in single crochet
- Hook used: 2.5mm steel or small standard crochet hook
- Yarn weight used: Lace weight (light fingering) cotton or cotton-blend yarn
If your petals are coming out noticeably larger or smaller than the measurements below, adjust your hook size up or down by 0.5mm and re-check your gauge before starting the full project.
Materials List
- Pink lace-weight yarn — approximately 15g (for 6 outer petals)
- Ivory/white lace-weight yarn — approximately 12g (for 4 inner petals)
- Gold or tan cotton cord — approximately 30cm length, for hanging
- 1 pearl bead (8–10mm) with a hole large enough to thread the cord through
- 2.5mm crochet hook
- Yarn needle for weaving in ends and joining petals
- Scissors
- Stitch markers (optional, helpful for keeping track of petal rounds)
- Craft glue or clear-drying fabric glue (optional, to secure the pearl bead in place at the end of the cord)
Abbreviations Table
| Abbreviation | Meaning |
|---|---|
| ch | chain |
| sl st | slip stitch |
| sc | single crochet |
| hdc | half double crochet |
| dc | double crochet |
| tr | treble crochet |
| sk | skip |
| st(s) | stitch(es) |
| rep | repeat |
| BLO | back loop only |
| RS | right side |
| WS | wrong side |
| ( ) | stitch count at end of round/row |
Pattern Instructions
Part 1: Outer Pink Petals (Make 6)
Each petal is worked flat, starting from a foundation chain and working around both sides of the chain to create a pointed, leaf-like shape.
Row 1: Using pink yarn, ch 12. Starting in the 2nd ch from hook, work as follows:
- sc in next 2 ch, hdc in next 2 ch, dc in next 3 ch, hdc in next 2 ch, sc in next 2 ch (11 sts)
Technique note: Working “second side of chain” means that after reaching the end of your foundation chain, you rotate your work and continue stitching back up the opposite side of the same chain, rather than turning and working a new row. This is what creates the pointed petal shape rather than a flat strip.
Row 2 (working into second side of starting chain): Continue without breaking yarn. Working into the bottom loops of the same foundation chain, sc in first 2 ch, hdc in next 2 ch, dc in next 3 ch, hdc in next 2 ch, sc in last 2 ch, sl st to first stitch of Row 1 to close the petal shape (11 sts)
Fasten off, leaving a 15cm tail for sewing the petal into the flower base later.
Repeat this petal 6 times total in pink yarn.
Part 2: Inner White Petals (Make 4)
The inner petals follow the same shaping technique but are worked slightly narrower and shorter, since they sit inside the pink layer and form the visible center of the bloom.
Row 1: Using white yarn, ch 10. Starting in the 2nd ch from hook:
- sc in next 2 ch, hdc in next 1 ch, dc in next 3 ch, hdc in next 1 ch, sc in next 2 ch (9 sts)
Row 2 (second side of chain): Without breaking yarn, working into the bottom loops of the same foundation chain: sc in first 2 ch, hdc in next 1 ch, dc in next 3 ch, hdc in next 1 ch, sc in last 2 ch, sl st to first stitch of Row 1 (9 sts)
Fasten off, leaving a 15cm tail.
Repeat this petal 4 times total in white yarn.
Part 3: Flower Base / Joining Ring
The base is a small worked ring that all petals attach to, giving the flower a stable center point and clean back side.
Round 1: Using white yarn, make a magic ring, ch 1 (does not count as a stitch), work 10 sc into the ring, pull tail tight to close, sl st to first sc (10 sts)
Technique note: A magic ring (also called a magic circle) is a starting method where you wrap the yarn around your fingers to form an adjustable loop, work your first round of stitches into that loop, then pull the tail to cinch the center closed completely — leaving no gap, unlike a standard chain-and-join start.
Round 2: Ch 1, sc in each st around, sl st to join (10 sts)
Fasten off and weave in the starting tail, but leave the working tail long enough to attach your hanging cord later.
Part 4: Assembling the Petal Layers onto the Base
Using your yarn needle and the tails left on each petal:
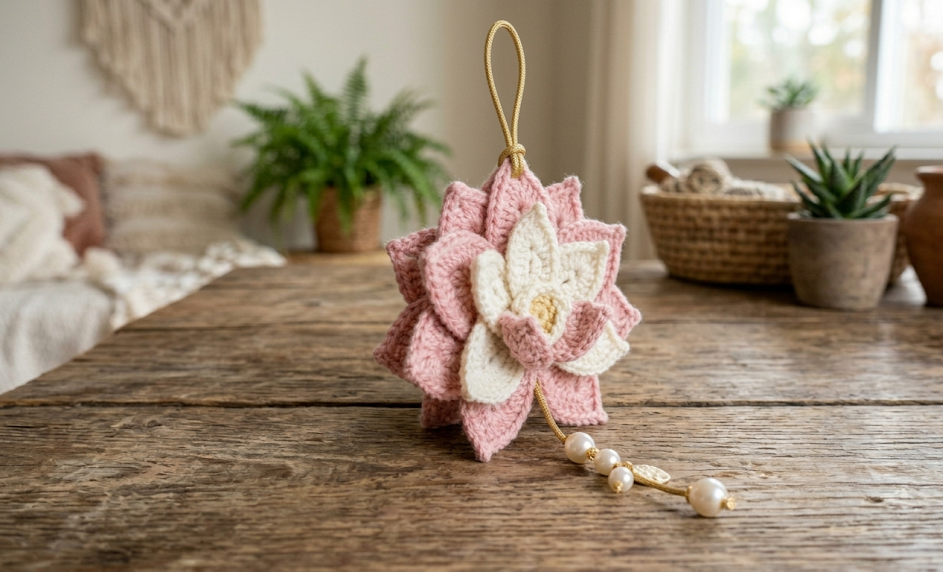
- Position the 6 pink petals evenly around the outer edge of the base ring, with petal points facing outward. Space them evenly, roughly every 60 degrees around the circle.
- Whip stitch the flat (joined) bottom edge of each pink petal to the base ring, using the tail left on the petal. Each petal should overlap its neighbor very slightly at the base for a fuller look.
- Once all 6 pink petals are secured, position the 4 white petals on top, centered in the middle of the flower, overlapping the inner edges of the pink layer.
- Whip stitch the white petals into place at their base, stitching directly through the pink layer and base ring to anchor them firmly.
- Check that the flower sits flat and petals fan outward symmetrically before fastening off final threads.
Part 5: Hanging Cord and Pearl Drop
- Cut a length of gold/tan cord approximately 30cm long.
- Thread one end of the cord up through the very center back of the flower base, knotting it on the underside so it sits securely and won’t pull through.
- At the opposite end of the cord, thread on your pearl bead, sliding it down to sit roughly 5–6cm below the base of the flower.
- Tie a secure overhand knot just below the pearl bead to hold it in place, and trim any excess cord.
- Optional: add a small dot of clear-drying glue at the knot below the pearl for extra security, especially if this will be handled often.
Assembly Steps
- Complete all 6 pink outer petals and set aside.
- Complete all 4 white inner petals and set aside.
- Crochet the 2-round base ring; this becomes your anchor point.
- Arrange and whip-stitch the 6 pink petals around the base ring first, spacing them evenly around the full 360-degree circle.
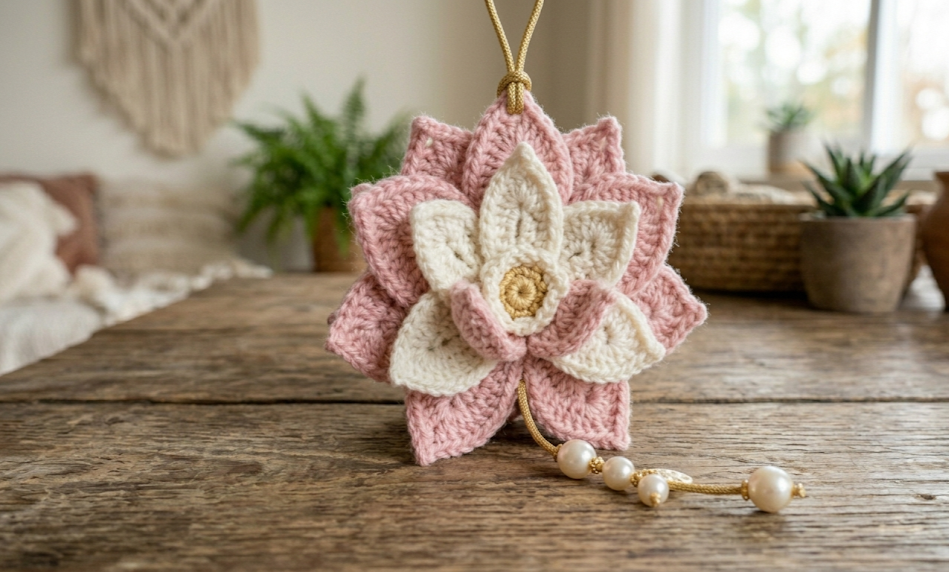
- Layer and whip-stitch the 4 white petals on top and toward the center, overlapping the pink layer by approximately 1cm at the base.
- Attach the hanging cord through the center back of the base, securing with a knot.
- Add the pearl bead 5–6cm down the cord and knot below it to hold it in place.
- Steam lightly or finger-press petals to help them lie flat and fan outward naturally.
- Trim and weave in any remaining loose ends on the back side of the flower.
Beginner/Intermediate Tips
- When working the second side of the foundation chain, go slowly on your first petal — it’s easy to accidentally skip the very last loop or twist your chain. Lay your chain flat on the table before starting Row 2 to check you’re going into the correct loops.
- Use a stitch marker on the first stitch of each round when working the base ring; with such a small stitch count, it’s easy to lose track of where you started.
- Keep your tension slightly looser than usual on the dc stitches in the center of each petal — these are the stitches that give the petal its pointed curve, and overly tight tension here will make petals curl rather than lie flat.
- When whip-stitching petals to the base, stitch through both the front and back loop of the base stitches for maximum hold, since this small flower will likely be handled, hung, and moved often.
- If your petals aren’t fanning out evenly after assembly, a light steam with a handheld garment steamer (held a few centimeters away, never touching directly) will relax the fibers and help them hold a more natural curved shape.
Variations
- Sunset Lotus: Swap the pink and white for coral and pale yellow yarn for a warmer, sunset-inspired color palette.
- Mini Lotus Garland: Make 3–5 of these flowers in slightly smaller scale (using fewer chain stitches per petal) and string them together along one long cord for a hanging garland.
- Bridal White Lotus: Use all-white or ivory yarn for both petal layers, with a single pearl drop, for an elegant wedding or bridal shower decoration.
- Lotus Keychain: Skip the long hanging cord and instead attach a short loop with a keyring clasp to turn this into a wearable bag charm or keychain.
- Two-Tone Reverse: Make the outer petals white and the inner petals pink for a softer, reversed color story that still keeps the same dimensional shape.
Save This Pattern for Later
If you loved making this delicate lotus flower applique, save this pattern to your favorite crochet board so you can come back to it anytime! Tag your finished flowers and share your version with the hashtag #FoodiePlumCrochet — we’d love to see your blooms.



