The Best Fluffy Pancakes recipe you will fall in love with. Full of tips and tricks to help you make the best pancakes.
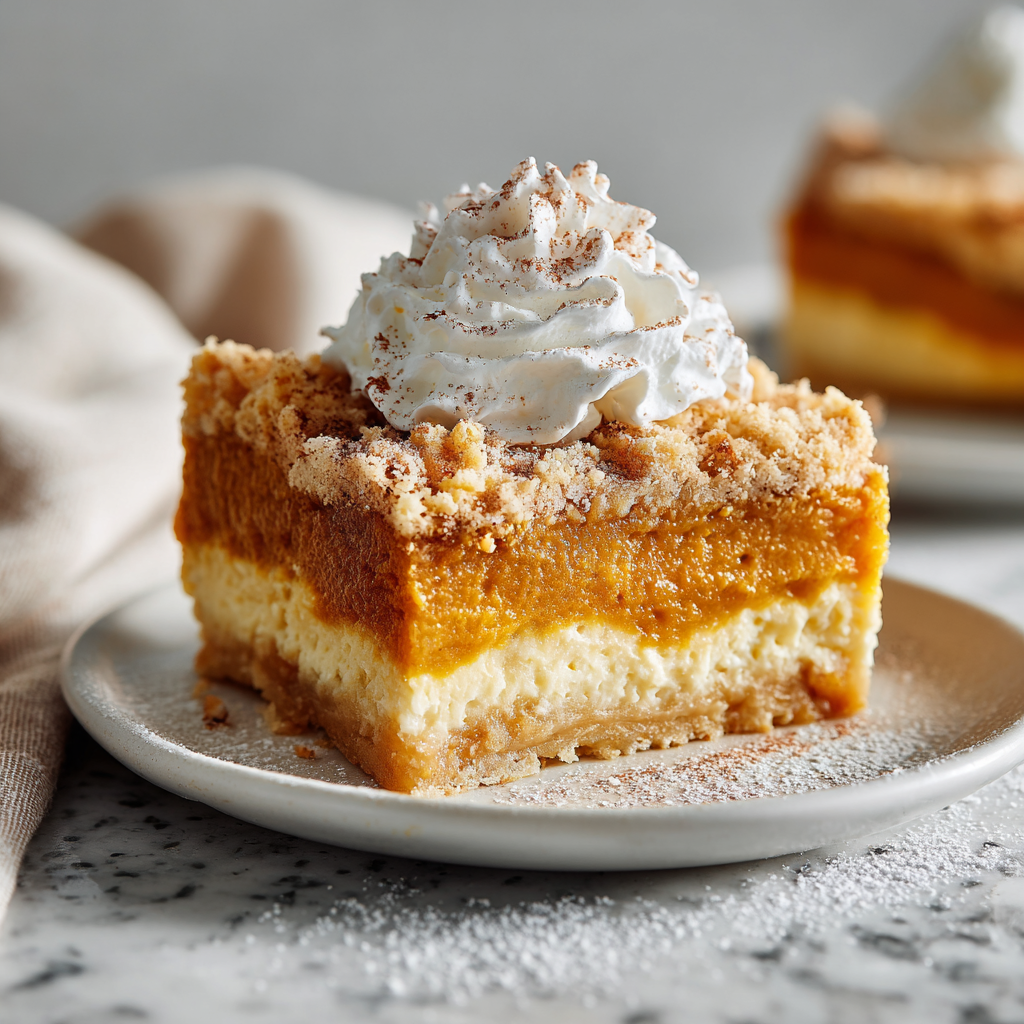
When autumn arrives and pumpkin cravings hit, there’s nothing quite as comforting as a warm, spiced dessert straight from the oven. This Pumpkin Dump Cake (Easy 3-Layer Fall Dessert) is the ultimate seasonal treat—rich, cozy, and incredibly simple to make. With its luscious pumpkin base, buttery cake topping, and golden crisp finish, this dessert delivers all the flavors of fall with minimal effort.
If you’re looking for an easy pumpkin dessert that feels indulgent yet requires almost no baking skills, this recipe is your answer. Whether you’re hosting a holiday gathering, planning a cozy family dinner, or just craving something sweet, this dump cake is guaranteed to impress.
What Is a Dump Cake?
A dump cake is one of the easiest desserts you can make. The name comes from the method—simply “dump” the ingredients into a baking dish, layer them, and bake. No complicated mixing, no fancy techniques—just pure, delicious simplicity.
This pumpkin version elevates the classic dump cake concept with warm spices and creamy texture, creating a dessert that tastes like a cross between pumpkin pie and a buttery crumb cake.
Why You’ll Love This Pumpkin Dump Cake
This recipe is a fall favorite for good reason:
- Super easy to make – No mixer required
- Perfect for beginners – Foolproof layering method
- Rich fall flavor – Loaded with pumpkin spice goodness
- Crowd-pleasing dessert – Great for holidays and gatherings
- Minimal prep time – Ready for the oven in minutes
It’s the kind of dessert you’ll come back to again and again during the fall season.
Ingredients
Pumpkin Layer
- 1 can (15 oz) pumpkin puree
- 1 can (12 oz) evaporated milk
- 3 eggs
- 1 cup granulated sugar
- 1 teaspoon cinnamon
- ½ teaspoon nutmeg
- ½ teaspoon ginger
- ¼ teaspoon cloves
- ½ teaspoon salt
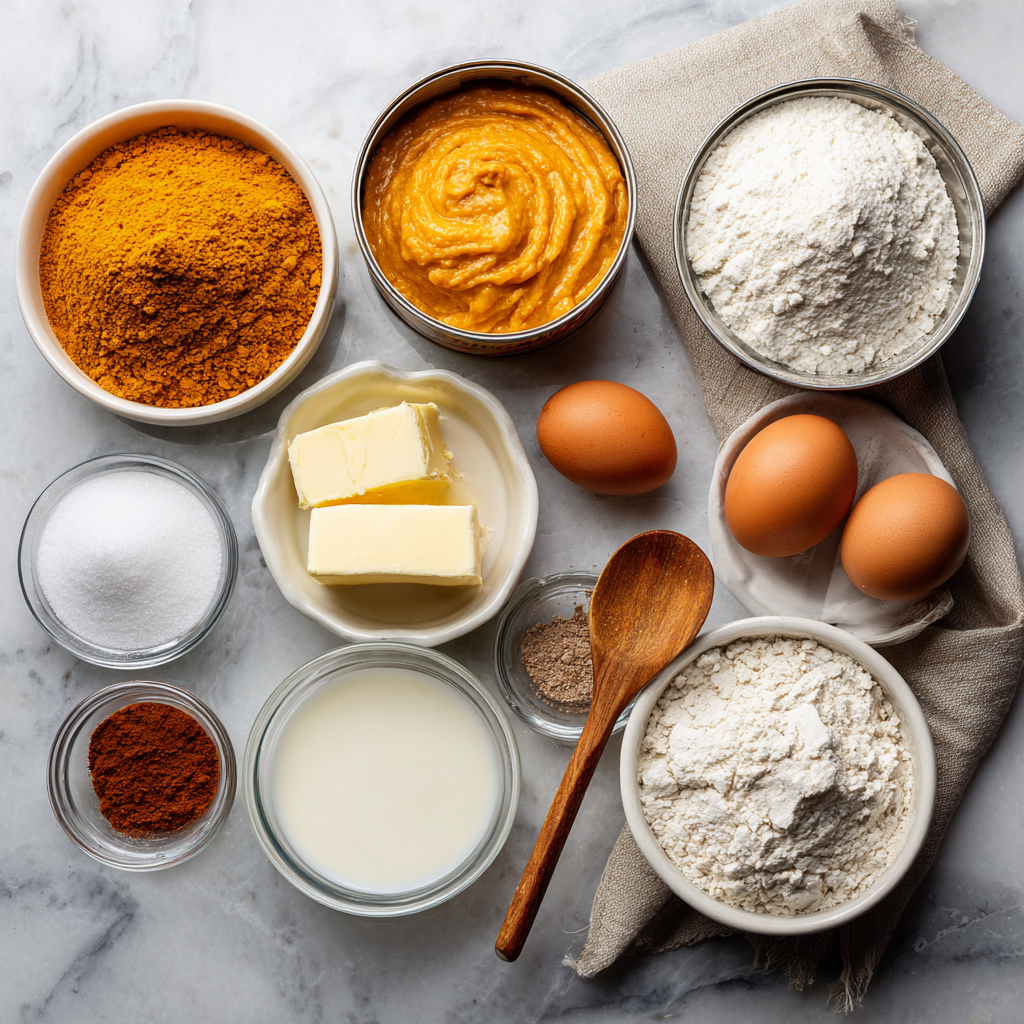
Cake Layer
- 1 box yellow cake mix
Butter Topping
- ¾ cup unsalted butter (melted)
Instructions
- Preheat the oven
Set your oven to 350°F (175°C) and lightly grease a 9×13-inch baking dish. - Prepare the pumpkin layer
In a large bowl, whisk together pumpkin puree, evaporated milk, eggs, sugar, cinnamon, nutmeg, ginger, cloves, and salt until smooth. - Pour into baking dish
Spread the pumpkin mixture evenly into the prepared dish. - Add the cake mix layer
Sprinkle the dry cake mix evenly over the pumpkin layer. Do not stir—this is key for the layered effect. - Add melted butter
Drizzle melted butter evenly over the cake mix, covering as much surface as possible. - Bake to perfection
Bake for 50–60 minutes, or until the top is golden brown and set. - Cool slightly before serving
Let the cake cool for at least 15–20 minutes to set the layers.
The Magic of the 3 Layers
One of the most satisfying things about this dessert is how it naturally forms three distinct layers as it bakes:
- Bottom layer – Smooth, custard-like pumpkin filling
- Middle layer – Soft, slightly gooey cake
- Top layer – Crisp, buttery golden crust
No mixing required—just simple layering and oven magic.
Tips for the Best Pumpkin Dump Cake
1. Use pure pumpkin, not pie filling
Pumpkin pie filling already contains sugar and spices, which can throw off the balance.
2. Distribute butter evenly
Make sure the melted butter covers as much of the cake mix as possible to avoid dry patches.
3. Don’t stir the layers
Resist the urge! The layered structure is what makes this dessert unique.
4. Let it rest before serving
This helps the layers set and makes slicing easier.
Variations to Try
1. Spice Cake Version
Swap yellow cake mix for spice cake mix to enhance the warm flavors.
2. Nutty Crunch
Sprinkle chopped pecans or walnuts on top before baking for added texture.
3. Cream Cheese Swirl
Add dollops of sweetened cream cheese to the pumpkin layer for a cheesecake twist.
4. Dairy-Free Option
Use plant-based butter and coconut milk instead of evaporated milk.
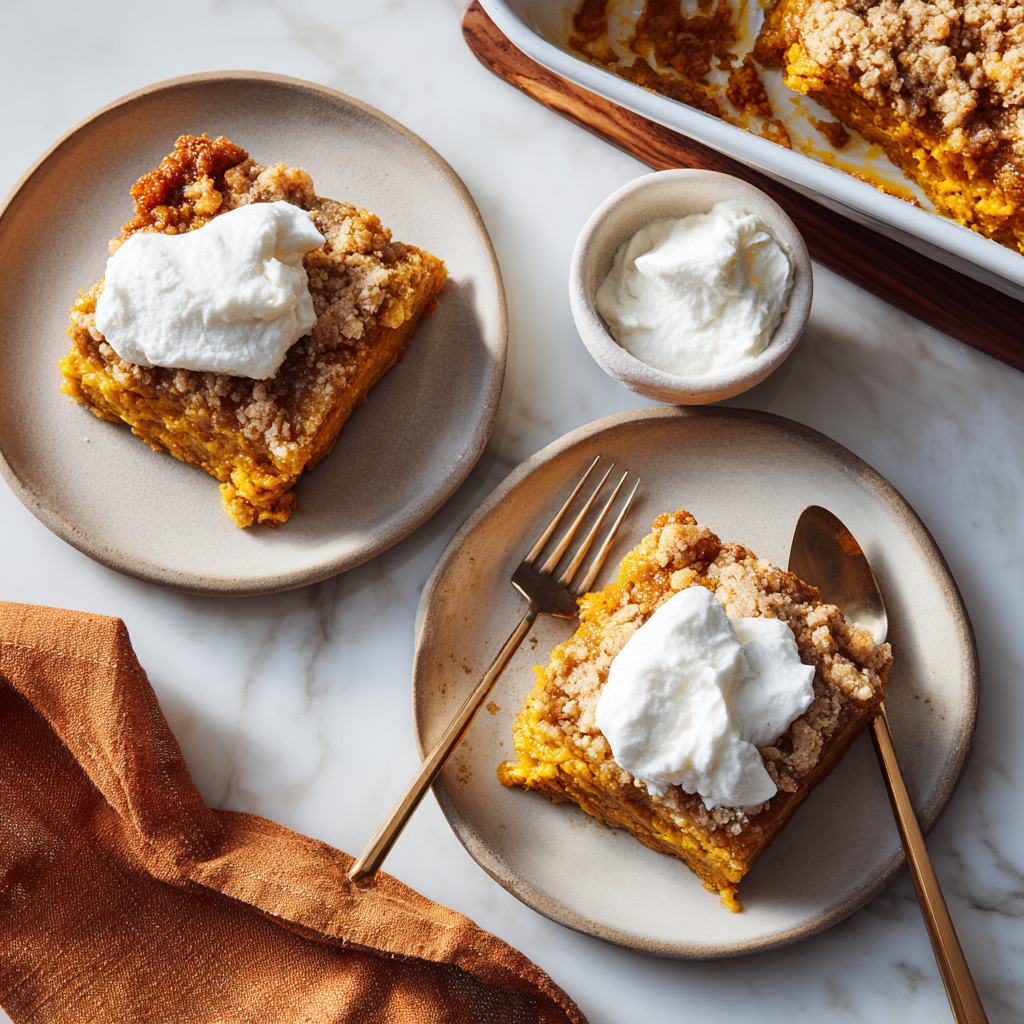
Serving Suggestions
This pumpkin dump cake is delicious on its own, but even better with:
- Fresh whipped cream
- Vanilla ice cream
- Caramel drizzle
- A sprinkle of cinnamon or pumpkin spice
Serve warm for the ultimate cozy dessert experience.
Storage & Reheating
Refrigeration
Store leftovers in the fridge for up to 4 days in an airtight container.
Freezing
Freeze individual portions for up to 2 months. Thaw overnight before reheating.
Reheating
Warm in the microwave or oven until heated through.
Perfect for Fall Gatherings
This dessert shines during:
- Thanksgiving dinners
- Halloween parties
- Fall potlucks
- Cozy weekend baking
Its warm spices and rich texture make it a seasonal favorite.
Fun Fact
Pumpkin is packed with vitamin A and antioxidants, making this dessert slightly more nutritious than your average sweet treat—so you can indulge with a little less guilt!
Final Thoughts
This Pumpkin Dump Cake (Easy 3-Layer Fall Dessert) is the definition of effortless baking. With its rich pumpkin base, buttery topping, and irresistible texture, it’s a dessert that delivers big flavor with minimal work.
Whether you’re a beginner baker or a seasoned pro looking for a quick fall favorite, this recipe is a must-try. One bite, and it might just become your go-to autumn dessert.
Pumpkin Dump Cake (Easy 3-Layer Fall Dessert)
A simple layered pumpkin dessert with a creamy base and buttery cake topping, perfect for fall gatherings.
Ingredients
Equipment
Method
- Preheat oven to 350°F (175°C).
- Mix pumpkin, milk, eggs, sugar, and spices until smooth.
- Pour into baking dish.
- Sprinkle cake mix evenly on top.
- Drizzle melted butter over the surface.
- Bake 50–60 minutes until golden.
Notes
Do not mix layers for best texture.